Introduction
To access this function, the user can go to Finance > Invoices. Users can see the list of the invoice and view the status.
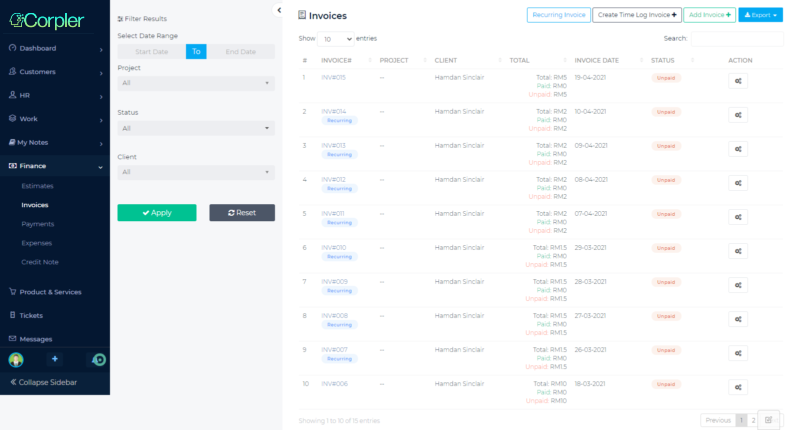
Unpaid status refers to when the invoice is still unpaid
Paid status refers to when the invoice becomes successfully paid.
Partial status refers to when the client is performing a partial payment.
In the Invoice module, there are 3 types of the invoice user can create:
- Standard Invoice, this is a default invoice. With the standard invoice, you can add an item from the list of products & services or you can add in any item. To create an invoice, click Add Invoice+ button.
- Time Log Invoice, this is an invoice that can be created based on the time log. The time log is available when the user sets any task in the project as billable.
- Recurring Invoice, this is an invoice that can be created with billing frequently. With the recurring invoice, the system will send an invoice automatically to the client’s email based on the frequency of billing.
Create an Invoice
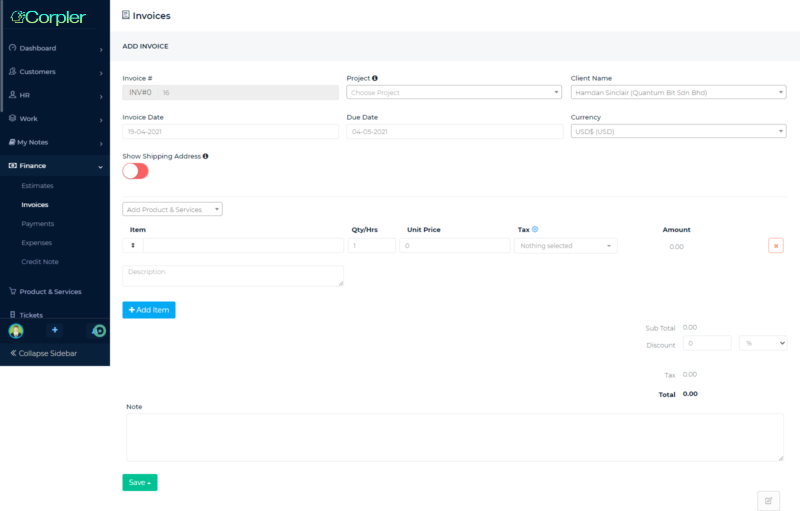
Client – A client can be selected from the dropdown button provided.
Currency – Currency for the invoice can be selected from the selection of the currency. By default the currencies available are; USD, GBP, and EUR. Users can add more currency from the setup available Setting > Currency Settings. The exchange rate is calculated from the default currency, and it is updated on a daily basis automatically.
Invoice Date & Due date – Choose the invoice date and the due date.
Add Products & Services
Users can add products & services by clicking on the drop-down button. Following, click on the Add Product & Services button.
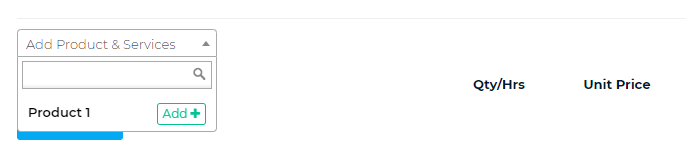
The drop-down will list all available Products & Services, once selected click on the Add+ button.
Once added, the Product & Description will be listed:
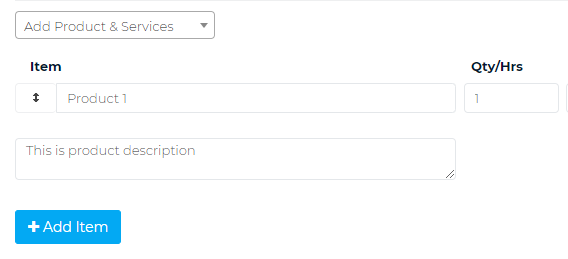
Add Item
Users also can add an item if the Product & Services are not yet available in the list of Product & Services.
This can be helpful if the user has an item that can be created instantaneously.

Click on the button +Add Item to start.
Item – Insert the item and the description
Qty/Hrs – Update the quantity or hours. Hours can be useful if the user provides work that can be valued by the number of hours spent.
Unit Price – Insert the unit price (without the currency code)
Tax – Update the tax if the business is entitled to collect a tax.
Click on the gear icon available to add tax.
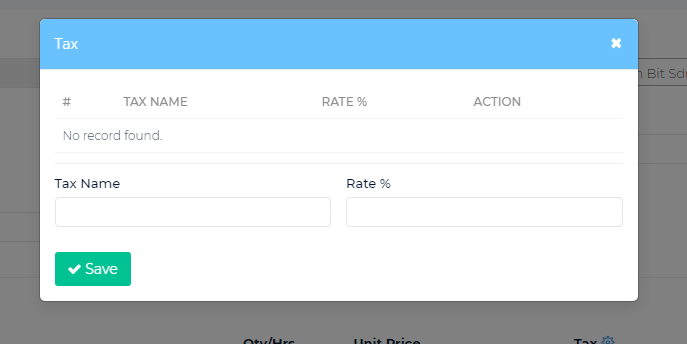
Insert the tax name and the rate in percentage.
Amount – The amount will be automatically calculated based on the value insert in Qty/Hrs and Unit Price. Users can also add the item by proceeding with the +Add Item button.
Note – If the user has a note to be inserted, use the text area provided to enter any notes require. The note will be display in the Invoice.
Save – Once done, the user has an option to save the Invoice. There are 3 options:
- Save – allow the system to save the invoice, but the invoice will not be sent to the client
- Save as Draft – allow the system to save the invoice, but the invoice will not be sent to the client, and the user can edit the invoice.
- Save & Send – allow the system to save the invoice, and send it to the client email. The client will receive the invoice and perform the necessary action.